


Hey there, fellow gardening enthusiasts! I'm an avid yellow onion grower and also a supplier of top - notch yellow onions. Today, I'm gonna share with you the ins and outs of growing yellow onions from seeds. It's a rewarding process that'll not only give you a bountiful harvest but also save you some bucks.
Getting Started: Seed Selection and Timing
First things first, you need to pick the right seeds. Look for varieties that are well - suited to your climate. Some popular yellow onion varieties are 'Yellow Globe' and 'Copra'. You can usually find these seeds at your local gardening store or order them online.
Timing is crucial when it comes to sowing onion seeds. In most regions, it's best to start seeds indoors about 8 - 10 weeks before the last expected frost date. This gives the seedlings enough time to grow strong before you transplant them outside. If you live in a warmer climate, you might be able to sow the seeds directly into the ground in the fall.
Preparing the Seed Starting Mix
For starting onion seeds, you'll need a good quality seed starting mix. You can buy one from the store, or make your own. A simple DIY mix can be made by combining equal parts of peat moss, vermiculite, and perlite. This mix provides good drainage and aeration for the tiny onion seeds.
Fill a seed tray or small pots with the seed starting mix. Make sure the containers have drainage holes at the bottom. Moisten the mix with water before sowing the seeds. You don't want it to be soaking wet, just damp.
Sowing the Seeds
Take your yellow onion seeds and sprinkle them evenly over the surface of the seed starting mix. You don't need to plant them too deep; just press them gently into the soil so that they're in contact with the moist mix. A general rule of thumb is to plant the seeds about 1/4 inch deep.
After sowing, cover the seeds with a thin layer of the seed starting mix. Then, use a spray bottle to mist the surface gently. This helps to settle the soil over the seeds without disturbing them.
Providing the Right Conditions for Germination
Onion seeds need warmth and moisture to germinate. Place the seed tray or pots in a warm spot, ideally around 70 - 75°F (21 - 24°C). You can use a heating mat under the tray to maintain a consistent temperature.
Keep the soil moist but not waterlogged. Check the soil daily and mist it with water if it starts to dry out. In about 7 - 10 days, you should start to see tiny green shoots emerging from the soil.
Caring for the Seedlings
Once the seedlings have emerged, they need plenty of light. Place them near a south - facing window or under grow lights. If using grow lights, keep them about 2 - 3 inches above the seedlings and leave them on for 14 - 16 hours a day.
As the seedlings grow, you'll need to thin them out. This means removing the weaker seedlings to give the stronger ones more space to grow. When the seedlings have their first true leaves, thin them so that they're about 1 - 2 inches apart.
You can also start fertilizing the seedlings with a diluted liquid fertilizer. Use a balanced fertilizer, like a 10 - 10 - 10, and follow the instructions on the package for dilution. Feed the seedlings every two weeks.
Transplanting the Seedlings
When the danger of frost has passed and the seedlings are about 4 - 6 inches tall, it's time to transplant them outside. Choose a sunny spot in your garden with well - drained soil. Onions love full sun, so make sure the area gets at least 6 - 8 hours of sunlight a day.
Prepare the soil by adding some compost or well - rotted manure. This enriches the soil and provides the onions with the nutrients they need. Dig small holes in the soil, about 4 - 6 inches apart, and gently transplant the seedlings into the holes. Make sure to cover the roots well with soil.

Growing Onions in the Garden
After transplanting, water the onions thoroughly. Keep the soil evenly moist throughout the growing season. Onions have shallow roots, so they need regular watering, especially during dry spells.
Mulching around the onions can help to conserve moisture and suppress weeds. You can use straw, shredded leaves, or grass clippings as mulch. Just make sure to keep the mulch a few inches away from the onion stems to prevent rot.
As the onions grow, you can side - dress them with a nitrogen - rich fertilizer. This encourages healthy leaf growth, which is important for bulb development. You can use a granular fertilizer and sprinkle it around the base of the plants, then water it in.
Harvesting Yellow Onions
Yellow onions are usually ready to harvest when the tops start to turn yellow and fall over. This is a sign that the onions have stopped growing and are starting to cure. You can gently lift the onions out of the soil using a garden fork.
After harvesting, let the onions dry in a warm, dry, and well - ventilated place for a few weeks. This helps to cure the onions and extend their storage life. Once they're fully cured, you can trim the tops and roots and store the onions in a cool, dry place.
Our Yellow Onion Products
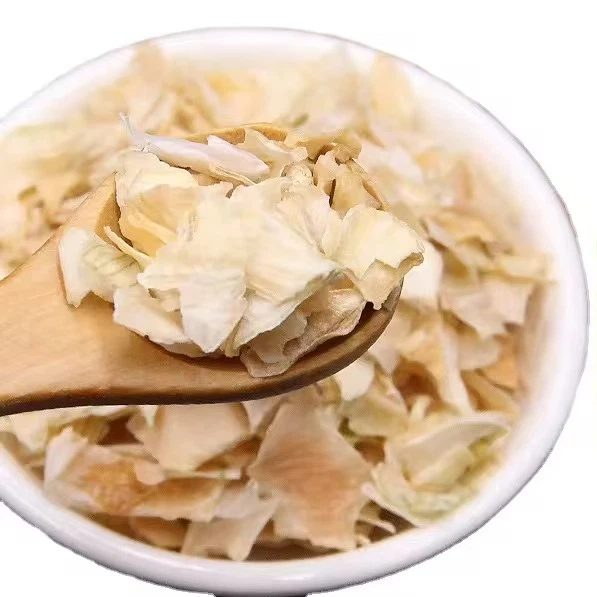
As a yellow onion supplier, I'm proud to offer a range of high - quality onion products. Check out our Yellow Onion Cubes, which are perfect for quick and easy cooking. We also have White Onion Cubes for those who prefer a milder flavor. And if you're looking for a convenient seasoning, our Red Onion Powder is a great option.
If you're interested in purchasing our yellow onion products for your business or personal use, feel free to reach out. We're always happy to discuss your needs and provide you with the best quality onions at competitive prices.
References
- "The Vegetable Gardener's Bible" by Edward C. Smith
- "Onion Growing Guide" from the University of California Cooperative Extension


